
The Digital Certificate has become a day-to-day tool now that Public Administrations have digitized by leaps and bounds. For this reason, it is important that you can have the digital certificate on all your Apple devices in general, but especially on your Mac, the personal computer with which you carry out your daily activities.
We teach you how to install the digital certificate on the Mac, as well as all the possible alternatives to use it. Find out how easy it is and how you can get the most out of your digital certificate on Mac with different browsers.
The macOS operating system causes problems when installing the digital certificate due to the numerous restrictions that Apple usually imposes on this type of security tools. In fact, through the traditional way, that is, using Safari, it is completely impossible to install the digital certificate, Don't worry though, we know how you can install it using other browsers.
We remind you that this installation manual for the digital certificate in macOS it is used for both natural person certificates and representation certificates, that is, those used for legal entities such as companies, associations or foundations.
Previous configurations
The first thing we are going to do is go to the FNMT website, which enables us to request the digital certificate, however, in it we are going to realize the first problem, there are only two valid browsers to install it: Internet Explorer, which is totally impossible to install on your Mac these days, and Mozilla Firefox as long as it's a pre-68 version of the software, but once again, at Applelizados we have the solution to these problems.
We will proceed to download version 68 of Mozilla Firefox for Mac, that we can get completely free of charge. Now we are simply going to download it and run it until it is finished with its complete installation 
Now comes the time to adjust the browser so that it is compatible with the request, installation and download of the digital certificate, for this we are simply going to download the root certificate. Once we have downloaded and installed it, so that Mozilla Firefox can be compatible with the digital certificates of the FNMT, the time has come to get down to work.
To verify that we have installed the root certificate correctly we must follow the following route that will allow us to see the settings, within the Mozilla Firefox application: Menu > Options > Advanced > Certificates tab > View Certificates button. There we must ensure that the FNMT-RCM Root CA Certificate is correctly installed.
Now just We return to the digital certificate request page and we will start obtaining it quickly and easily.
Now we are simply going to provide our personal information, for which we must have on hand our National Identity Document number or Foreign Identification Number, DNI or NIE in the traditional acronyms, as well as the first surname of the user who wishes to download the digital certificate, an email and a length of the key, in the latter we will always select the highest degree.
The first important detail is that we must make sure that later we will be able to download the certificate from the same computer and the same browser from which we have made the request, If we do not strictly comply with this step, then the procedure will give an error and we will have to start the procedure from the beginning.
identification and download
Once the previous step is completed, we will receive an email with a Request code. This code is very important, so I recommend that you take a picture or write it down where you can easily consult it. And now is when the time comes to prove our identity.
For this, it will be enough to go to any Social Security office, the Tax Agency (it is necessary to make an appointment in this link) or to the authorized offices of our Town Hall with our ID and the email request code. There an official will prove our identity and enable us to download the digital certificate so that we can access the last step, the easiest of all. As a curious note, you can use office locator, however, there are many other places where you can prove your identity that do not appear on the list, consult your Town Hall, for example.
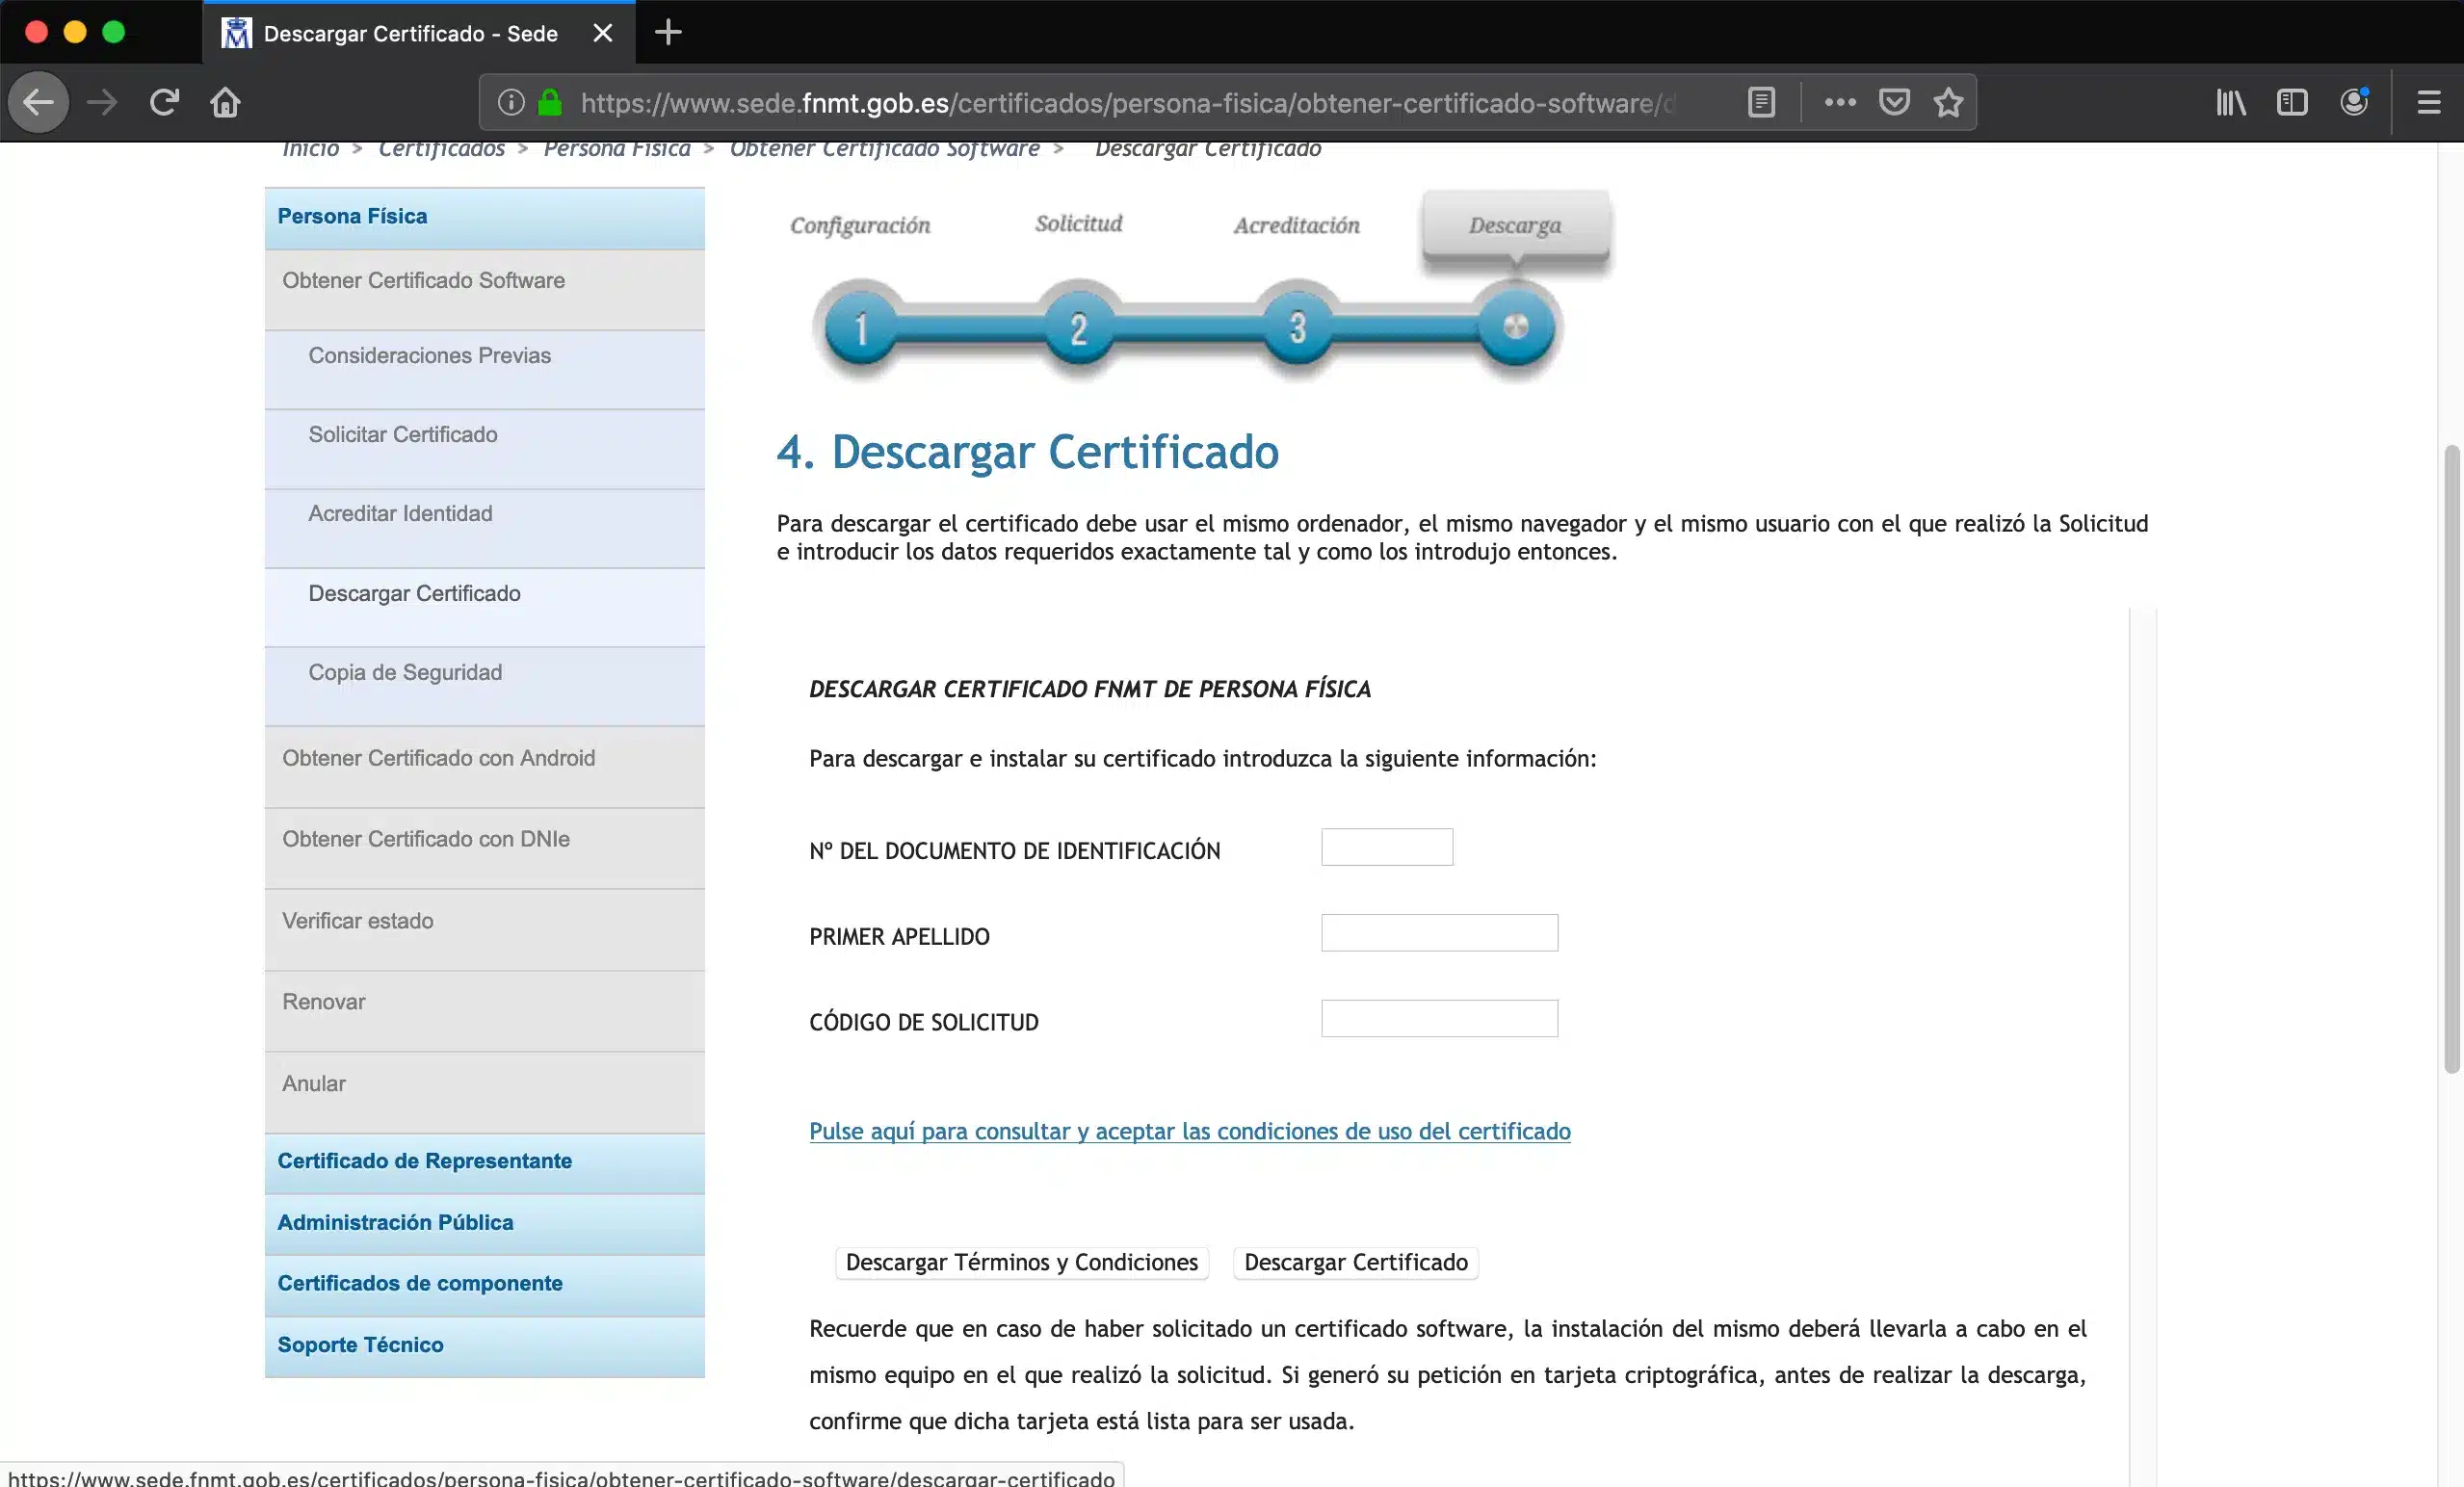
Once we have proven our identity in the points above, we will go back to the FNTM certificate download section, where by entering the data of our request we will be able to download it whenever we are using the exact same computer and the same web browser from which we started the request at the time. We also click to accept the conditions of use and if we are using the same browser and the same Mac from which we made the request, the certificate will be automatically downloaded and installed.
Create a backup
We already have our digital certificate installed on the Mac, now we make a backup with private key (Important) to be able to install it on the iPhone, for this we open Tools> Options> Advanced> View Certificates> People, click on the certificate and choose "Export". We must request the option to export in ".pfx" format and assign a password.
Use the digital certificate in Safari
Once we have installed the digital certificate, even in Firefox, it will be compatible with all browsers of the operating system, since it will be integrated into the option Keychains of the Mac. So we can leave Mozilla Firefox aside and use Safari even to sign up or log in, since when we choose the digital certificate option, a window will open that will allow us to select our newly installed digital certificate, as easy as that.
Install digital certificate on iPhone
For this we are going to select from our Mac and we are going to send the digital certificate via email to an address that is accessible from Safari, for example Hotmail. Now we just send it to ourselves and access the email from Safari.
We look for the email in the inbox and click on the attached file, which will be the digital certificate. Then a new window will open indicating that we are installing a profile. Click on the upper right corner on install and then we go to Settings > General > Profiles. Here we are going to finish installing it by clicking on it, we will enter our unlock code of the iPhone and later the key that we have put to the digital certificate and we will already have the certificate installed easily and fully functional on our iPhone.