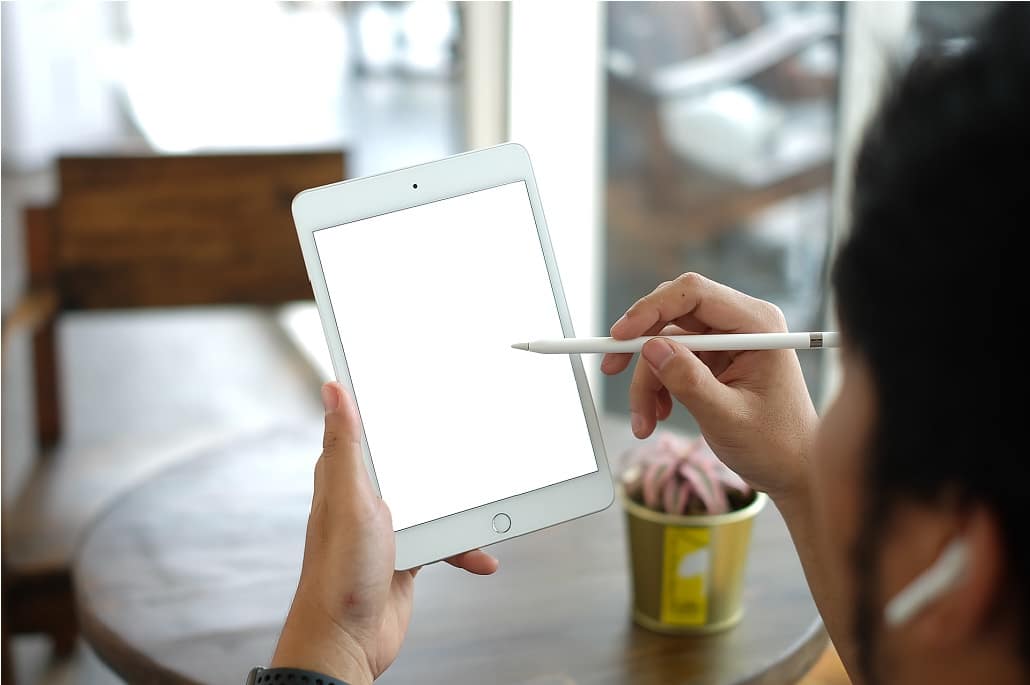
In order for an Apple Pencil to operate correctly, it must be properly configured. By this we refer not only to its compatibility with an iPad, but also to the fact that it has been customized according to the user's needs. If you want to know how set up an Apple Pencil, We invite you to continue reading this article.
What should you know before setting up an Apple Pencil?
Since Apple Pencil is a separately purchased accessory, it is recommended connect it to the iPad as soon as possible to check its compatibility. Fortunately, it is very easy to connect the pencil to the iPad.
Each type of Apple Pencil can only be connected to certain iPad models, so it is necessary to check the compatibility between the pencil and the tablet first.
To check the compatibility of the 1st generation Apple Pencil, said accessory must be connected to the Lightning port of the iPad. If the connection is effective, a pairing confirmation message will be displayed.
In the case of 2st generation Apple Pencil, the accessory must be attached to the magnetic connector on the side of the iPad. Once the pen is recognized, a notification will appear to confirm the pairing.
When the connection is established, both devices will begin to synchronize, the firmware will be updated if necessary, and the pen battery will start charging. The Apple Pencil can be used immediately if its battery is sufficiently charged.

Steps to set up an Apple Pencil
Once Apple Pencil and iPad are connected, you can configure the pencil to work the way you want it to. To do this, you must access the option Settings on the iPad and there select Apple Pencil. The settings recommended below are intended to make Apple Pencil meet the needs of a standard user.
Double Click Configuration
One of the most useful features of the 2nd-generation Apple Pencil, which the XNUMXst-generation does not have, is its double-tap tool-toggle advantage (Tap twice) on its flat side. This attribute is still limited to a few options, which are:
- Allows you to toggle between the current tool and the eraser.
- Allows you to toggle between the current tool and the most recently used one.
- Present the color palette (very useful when working with applications like Photoshop).
- Disabled.
Usage Mode Configuration
If what you want is to use the Apple Pencil to navigate the content of your iPad, you must configure it to do so. the option of draw only with Apple Pencil Allows you to activate or deactivate the ability to only draw with the pencil, depending on the activity you want to perform.
When the option is enabled (green slider) you will only be able to use the Apple Pencil to draw and write on the iPad, so you will need to use your fingers to scroll and tap on the iPad.
If the option has been disabled (grayed slider) the Apple Pencil can be used to draw, write, scroll or tap on the iPad.

Text Box Writing Settings
The option Write will allow you to type in any text box. If this option has been activated, you only need to click the pencil on the text box to enable writing in it.
It may take some practice in certain areas, such as the browser's address bar, to master typing. This function will be very useful once the user has learned how to use it.
Non-configurable functionalities
The Apple Pencil has other features that are not configurable, since its greater or lesser use will depend on the user's ability to draw or write. The pen has three technological attributes that contribute enormously to its the work of the user is carried out with greater precision and detail:
- Palm detection technology.
- Sensitivity to exerted pressure.
- Adaptation to the angle of inclination.
Thanks to the advantages offered by the technology incorporated in Apple Pencil, a user with sufficient skills could achieve thick, thin or shading strokes.

FAQs
Some of the most frequent concerns of users about this accessory are the following:
How to know if an Apple Pencil is charged?
To check the battery level of a 2nd generation Apple Pencil, all you have to do is stick the pencil to the iPad, and the charge indicator will immediately appear on the screen.
In the case of the 1st generation Apple Pencil, you will need to access the TodayView on the iPad, to check the battery charge level indicator, an option also available for the 2nd generation pen.
Also know how to charge apple pencil
How long should Apple Pencil charge before first use?
According to Apple specifications, it will take around 30 minutes for the Apple Pencil to charge to 100%. The manufacturer recommends that the pen be loaded by at least 10 to 15 minutes before your first use.

Why isn't my Apple Pencil pairing?
If an Apple Pencil is having trouble pairing, a few checks will need to be done:
- The battery level should be checked to make sure the pen has a sufficient charge.
- Verify that an iPad-compatible Apple Pencil is being used.
- Verify that Bluetooth is activated.
If, despite the above checks, the Apple Pencil still fails to pair with the iPad, you can try the following:
- You must first disconnect the pencil from the iPad.
- En Settings > Bluetooth you must select the information icon corresponding to the Apple Pencil, and then mark on Forget Device, which you must confirm.
- Then the pencil will be inserted into the Lightning port of the iPad, if it is from the 1st generation, so that it can be recognized and paired again. If it is a 2nd generation pencil, it must be attached to the magnetic connector located on the side of the iPad, to be recognized and paired again.
- Matchmaking should start automatically.